BEA – Browser Entry Assistant Application
1) Download GNU Wget free FTP utility.
GNU Wget is a free software package for retrieving files using HTTP, HTTPS, FTP and FTPS, the most widely used Internet protocols. It is a non-interactive command line tool, so it may easily be called from scripts, cron jobs, terminals without X-Windows support, etc.
Click GNU Wget free FTP utility download link: wget.exe FTP utility
Be sure to save this file as “wget.exe”, in case there is a copy of this file already in the folder that you are downloading to, which could cause it to rename the download file to something like “wget (1).exe”.
2) Download Browser Entry Assistant installer Command File.
Save this file as “DownloadSchedulerInstaller.cmd” by selecting the “Save as type” to “All Files (*.*)” and renaming the file extension from “.txt” to “.cmd”. If there is already a copy of this file in the folder that you are downloading to, the download file name may default to something like “DownloadSchedulerInstaller (1).txt”. Make sure it reads as “DownloadSchedulerInstaller.cmd” before selecting the Save button.
After downloading the two files above into the same folder such as your “Downloads” folder, right click on the DownloadSchedulerInstaller.cmd command file and select “Run as administrator” option from the popup menu.
1) Download the BEA Scheduler Installer.
BEA – The Browser Entry Assistant is a Windows application that is designed to quickly and easily configure hundreds of emails using the email mailing/scheduling system with the click of a button! Click the button below to get started with the downloading and installation of the Browser Entry Assistant application. Also, make sure to click on the “Go To Sign-Up Form” button below to register for your free trial.
Save the file “InstallCliqlyScheduler.mov” into the Downloads folder. Open the Downloads folder and rename the to “InstallCliqlyScheduler.exe”. If there is already a copy of this file in the folder that you are downloading to, the download file name may default to something like “InstallCliqlyScheduler. (1).mov”. If the file extension isn’t visible, that is alright. Just remove any extraneous characters and the “.mov” extension and then append “.exe” to the end of the file name. Make sure it reads as “InstallCliqlyScheduler.exe” before selecting the “Save” button. If you have any issues downloading or running the installer file, then email support at Scheduler @ AmaralComputing.com for assistance (do NOT include the spaces in the email address).
Save the file “InstallCliqlyScheduler.exe” into the Downloads folder. Open the Downloads folder and if the file already exists, then click on that filename “InstallCliqlyScheduler.exe”. Make sure it reads as “InstallCliqlyScheduler.exe” before selecting the “Save” button.
If you have any issues downloading or running the installer file, then email support at Scheduler @ AmaralComputing.com for assistance (do NOT include the spaces in the email address).
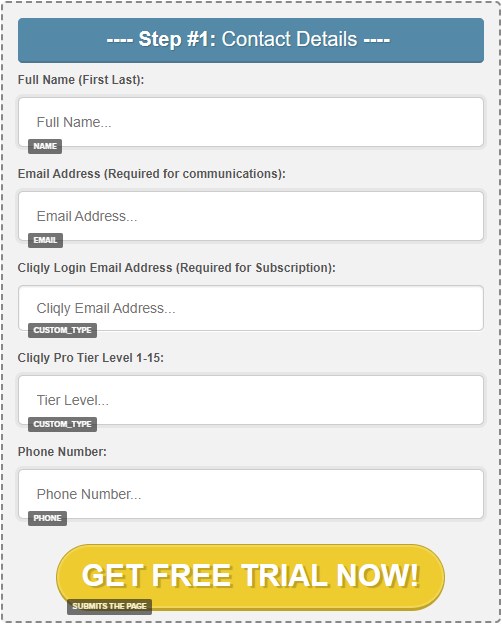
Use the following link to sign-up for a free trial. This will allow you to schedule emails with the scheduler to discover how easy it is, but mostly how much time it will save you every day!
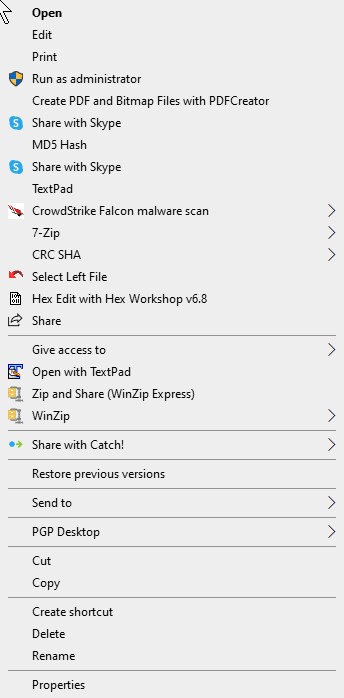
After downloading the Install Cliqly Scheduler file, right click on it to display the popup menu and select “Run as administrator” option.

You may see a Windows protected your PC dialog box popup.
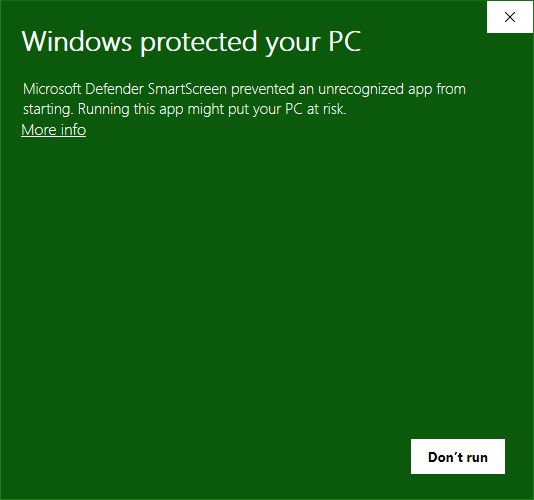
If this comes up, then select the More info link to continue with the installation.
The next Windows protected your PC dialog box will have a Run anyway option.
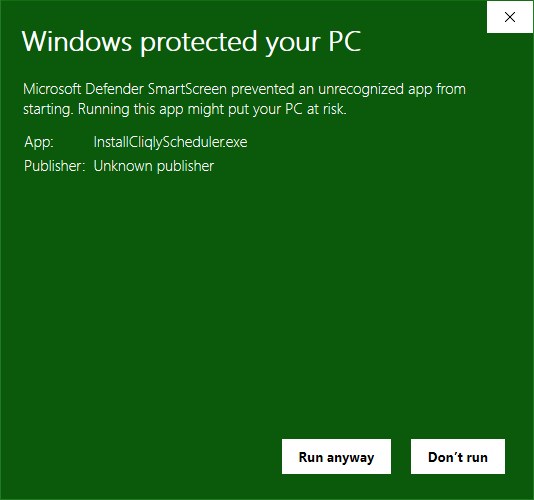
Select the “Run anyway” button to continue with the installation.
Another warning dialog box similar to the one below will popup.
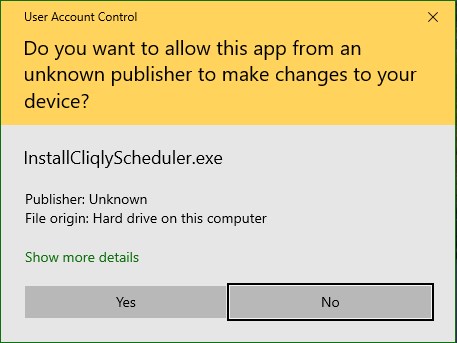
Select the “Yes” button to allow this app to make changes to your device.
If you did not run the BEA Scheduler installer as administrator, then you will see another warning dialog box popup.
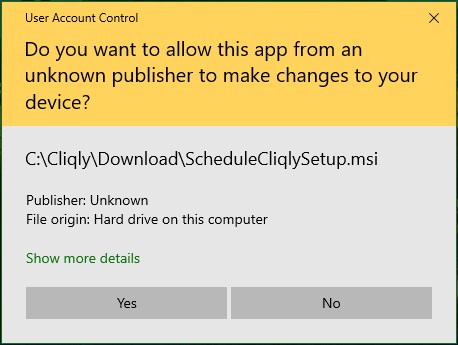
If this occurs, then select the “Yes” button to allow this app to make changes to your device.
The Browser Entry Assistant Application installation will start and Setup Wizard dialog box is displayed.
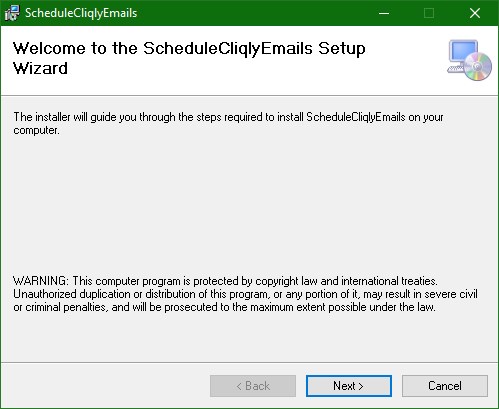
Select the “Next” button to continue.
The “Select Installation Folder” dialog box is displayed.
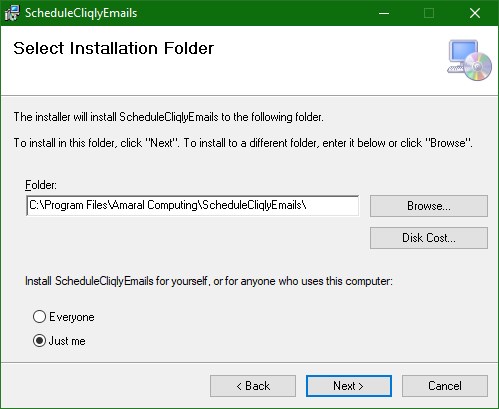
Leave the location as is and select the “Next” button to continue.
The “Confirm Installation” dialog box is displayed.
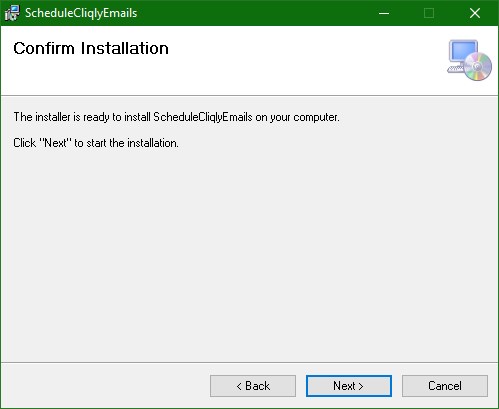
Select the “Next” button to install the Browser Entry Assistant application.
The “Installation Complete” dialog box is displayed.
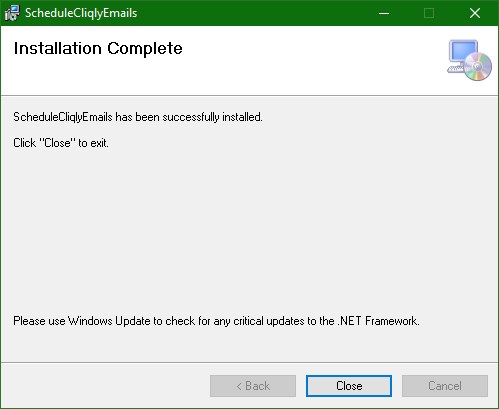
Select the “Close” button to complete the installation. You have successfully installed the Browser Entry Assistant application!
Wait for about 15 seconds for the application to start. The Terms and Conditions dialog box will be displayed initially and not displayed again unless something is modified in a future update. This dialog can always be accessed again for your review from the top menu bar “Help” drop down menu by selecting the “About…” option.
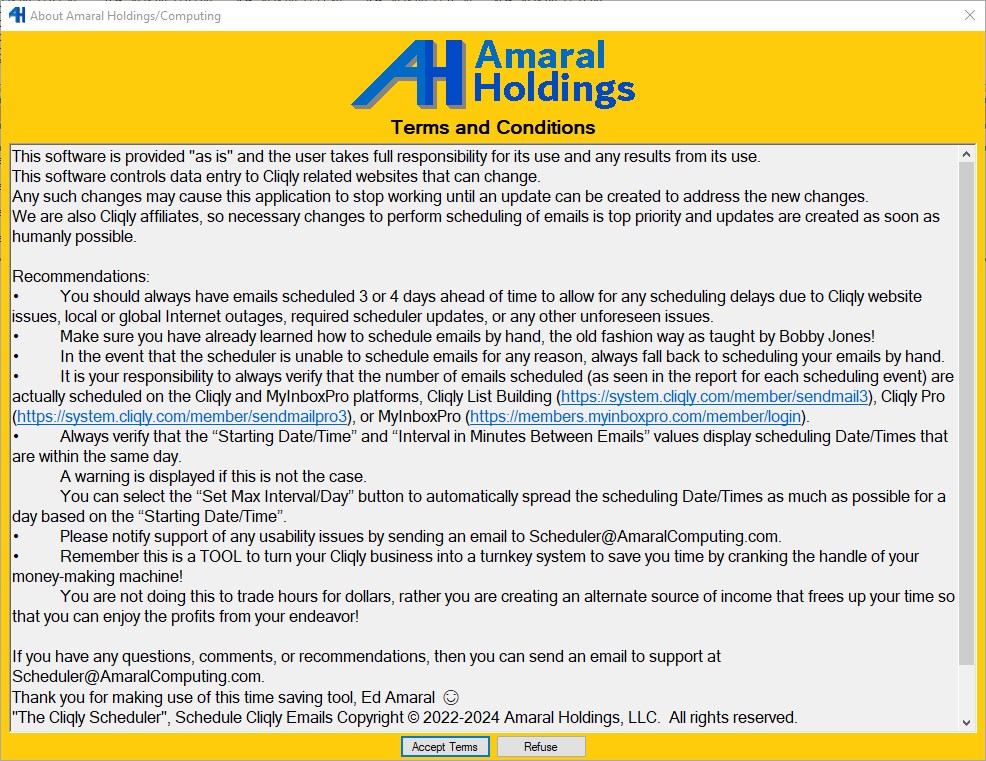
Select the “Accept Terms” button to accept the Terms and Conditions and run the Browser Entry Assistant application. Or select the “Refuse” button, or the X in the upper right corner of the dialog box, or press the Escape key on your keyboard to Refuse the Terms and Conditions and exit the Browser Entry Assistant application.
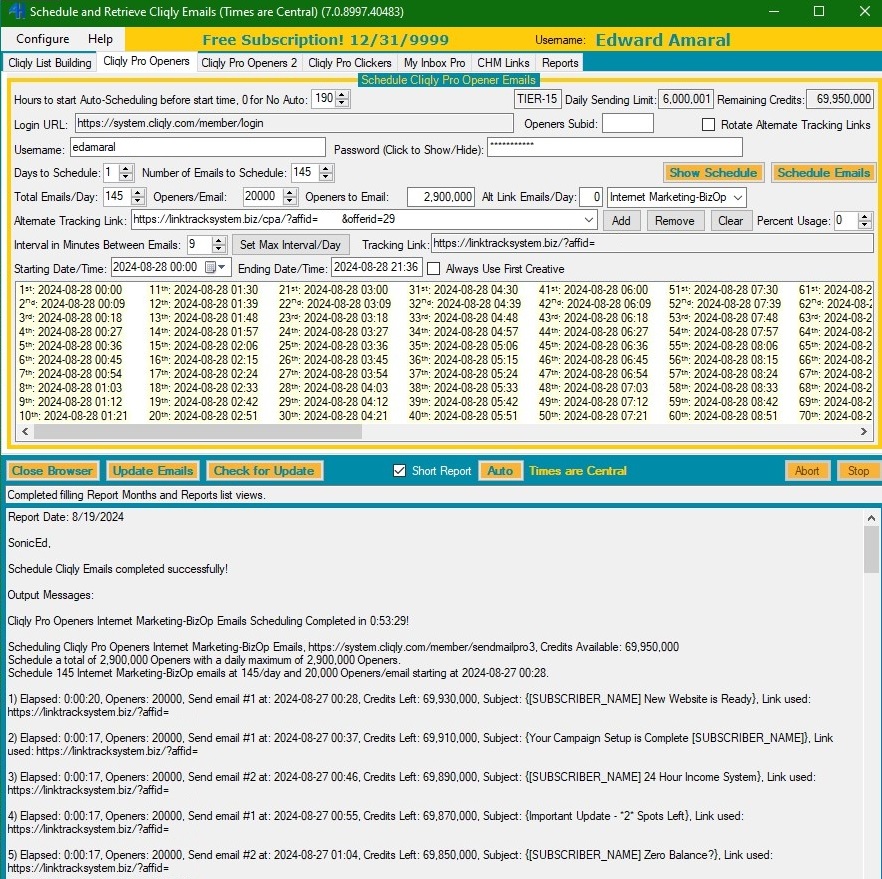
If you selected the “Accept Terms” button, then you will see the Browser Entry Assistant application and it will look similar to the images below!
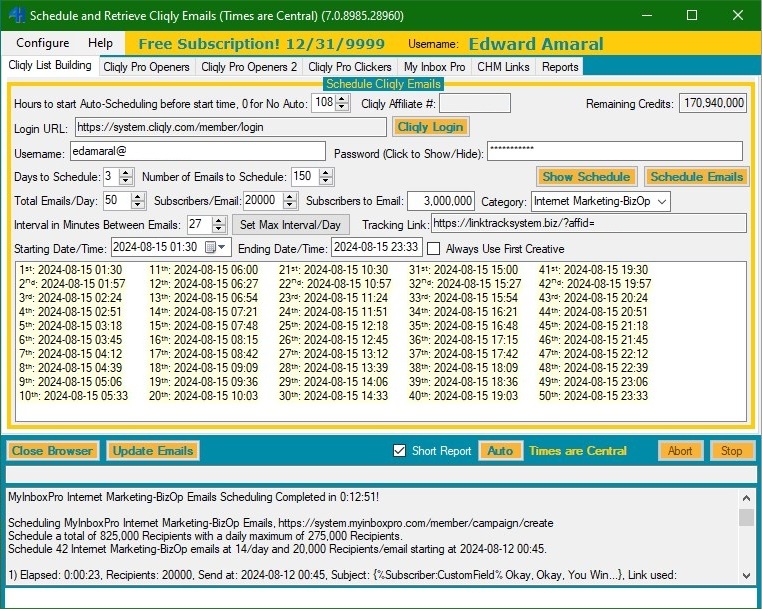
How to get started – Configuration
A “Browser Entry Assistant” shortcut will be placed on your desktop, double click on it to start the Scheduler.
Steps to configure the Browser Entry Assistant application:
1) Select the Configure dropdown menu in the top menu strip.
2) Select the Settings option.
3) If your Pro, MIP, and CHM accounts all use the same logon credentials, then select the “Use same user and password for all: checkbox to simplify setup.
4) Enter your username (email address) and password for your accounts.
5) Enter the “From Name” that you use for scheduling your emails, e.g. “Bobby”.
6) Select the Save button.
Steps to configure an SMTP email server (Optional):
You do not need to configure the “Configure SMTP” settings to schedule emails.
If you have access to an SMTP email server, then you can select the Configure SMTP option in the Configure dropdown menu in the top menu strip to configure STMP settings.
1) This will allow the Scheduler to email completion reports, warnings and errors to you and also send warnings and errors to me to correct issues found.
2) Enter the email address to send email to you for notifications and reports.
3) Enter the salutation that you wish to have in your received emails.
4) Enter the “From Email” email address that you are sending from for your SMPT account.
5) Enter the SMTP username for your account, this is usually the same as your “From Email” email address.
6) Enter the SMTP password for your account.
7) Enter the SMTP hostname (mail server, such as “smtp.office365.com”).
8) Enter the port number that your SMTP account uses.
9) Check the SMTP SSL checkbox if your SMTP server uses authentication. Most email servers require authentication nowadays.
10) Select the “Test Emailing” button to ensure that your credentials work.
11) After configuring settings that work, select the “Save” button to save your SMTP settings.
Steps to configure the Chrome Driver:
You do not need to configure the “Chrome Driver” settings to schedule emails.
Select the “Chrome Driver” option in the “Configure” dropdown menu in the top menu strip to view the Chrome Driver settings.
1) The Chrome Driver Folder is not configurable. It just shows the location of where it is stored.
2) The Chrome Binary setting is where the installation found Chrome to be installed at.
If you have another version of Chrome, for example the Beta version, installed on your computer, then you can use the “Browse” button to search for other installations and use that version of Chrome instead.
Typically, this is not necessary, so just leave this setting as is.
Steps to Run the Scheduler:
1) After configuring your settings, select the “Update Emails” or “Refresh Emails” button in the center strip of the Scheduler to load your affiliate IDs and Remaining credits from your accounts.
The Scheduler will open up Chrome and start accessing your accounts for you to load your information into the Scheduler.
These values are used to determine the number of emails that you are allowed to send.
2) Configure your settings in each of the tabs, List Building, Pro Openers, Pro Openers 2 , Pro Clickers, and MIP to your desired values, if you have not already done so.
3) The CHM Links can be download from the “CHM Links” tab.
More detail about the “CHM Links” tab later.
4) Your scheduling reports can be viewed in the Reports tab.
This is especially useful if you are not receiving completion report emails because you do not have SMTP set up.
5) Use the “Schedule Emails” buttons on each desired tab to send the emails based on the schedule that you have set up.
6) Sit back and watch your emails get scheduled quickly and correctly without any typos or delays! 😃
Steps to Configure Your Email Schedules:
In the List Building, Pro Openers, Pro Openers2, Pro Clickers, and MIP tabs:
- Enter 1 for “Days to Schedule” initially.
- For MIP only, set the “Maximum Emails/Day” value in the upper right corner to 14 for the 250K (actually it’s 275K) account.
- For MIP, set the “Total Emails/Day” value on the left side to 14.
- For MIP, set the “Recipients/Email” value to 20000.
- Finally for MIP only, set the “Maximum Recipients/Day” value on the left to 275000. This will force the scheduler to email only the maximum 275,000 recipients instead of 280,000 (14 x 20,000) recipients without you having to do it manually!
- Set how many emails you want to send per day (“Total Emails/Day”).
- Set “Subscribers/Openers/Clickers/Recipients)/Email” to 5,000, 10,000, 15,000, 20,000, or any value that you desire between 5,000 and 20,000.
- Set your Starting Date/Time.
- Set the “Interval in Minutes Between Emails” to the number of minutes to wait before the next email is sent, or click the “Set Max Interval/Day” button to spread them out evenly for the whole day. If the interval value causes emails to schedule past midnight, then a warning message is highlighted, “Scheduled beyond day!“. Lower the interval until the message goes away!
- Finally, select the “Schedule Emails” button to do the scheduling.
Congratulations on getting the BEA Scheduler setup and configured!!! 😃
Please send an email to support at Scheduler @ AmaralComputing.com (do NOT include the spaces in the email address) for assistance in getting started with the Browser Entry Assistant application.
Thank you for installing this amazing time saving tool to free up your time as you build your email marketing business to its highest heights!

